Sunday, October 21, 2012

Basics: Apple Pie Filling

Ok, I know all you guys go crazy apple picking, as I do, come September and October. It's hard not to pluck those ripe, juicy, gorgeously green and red apples from their branches.


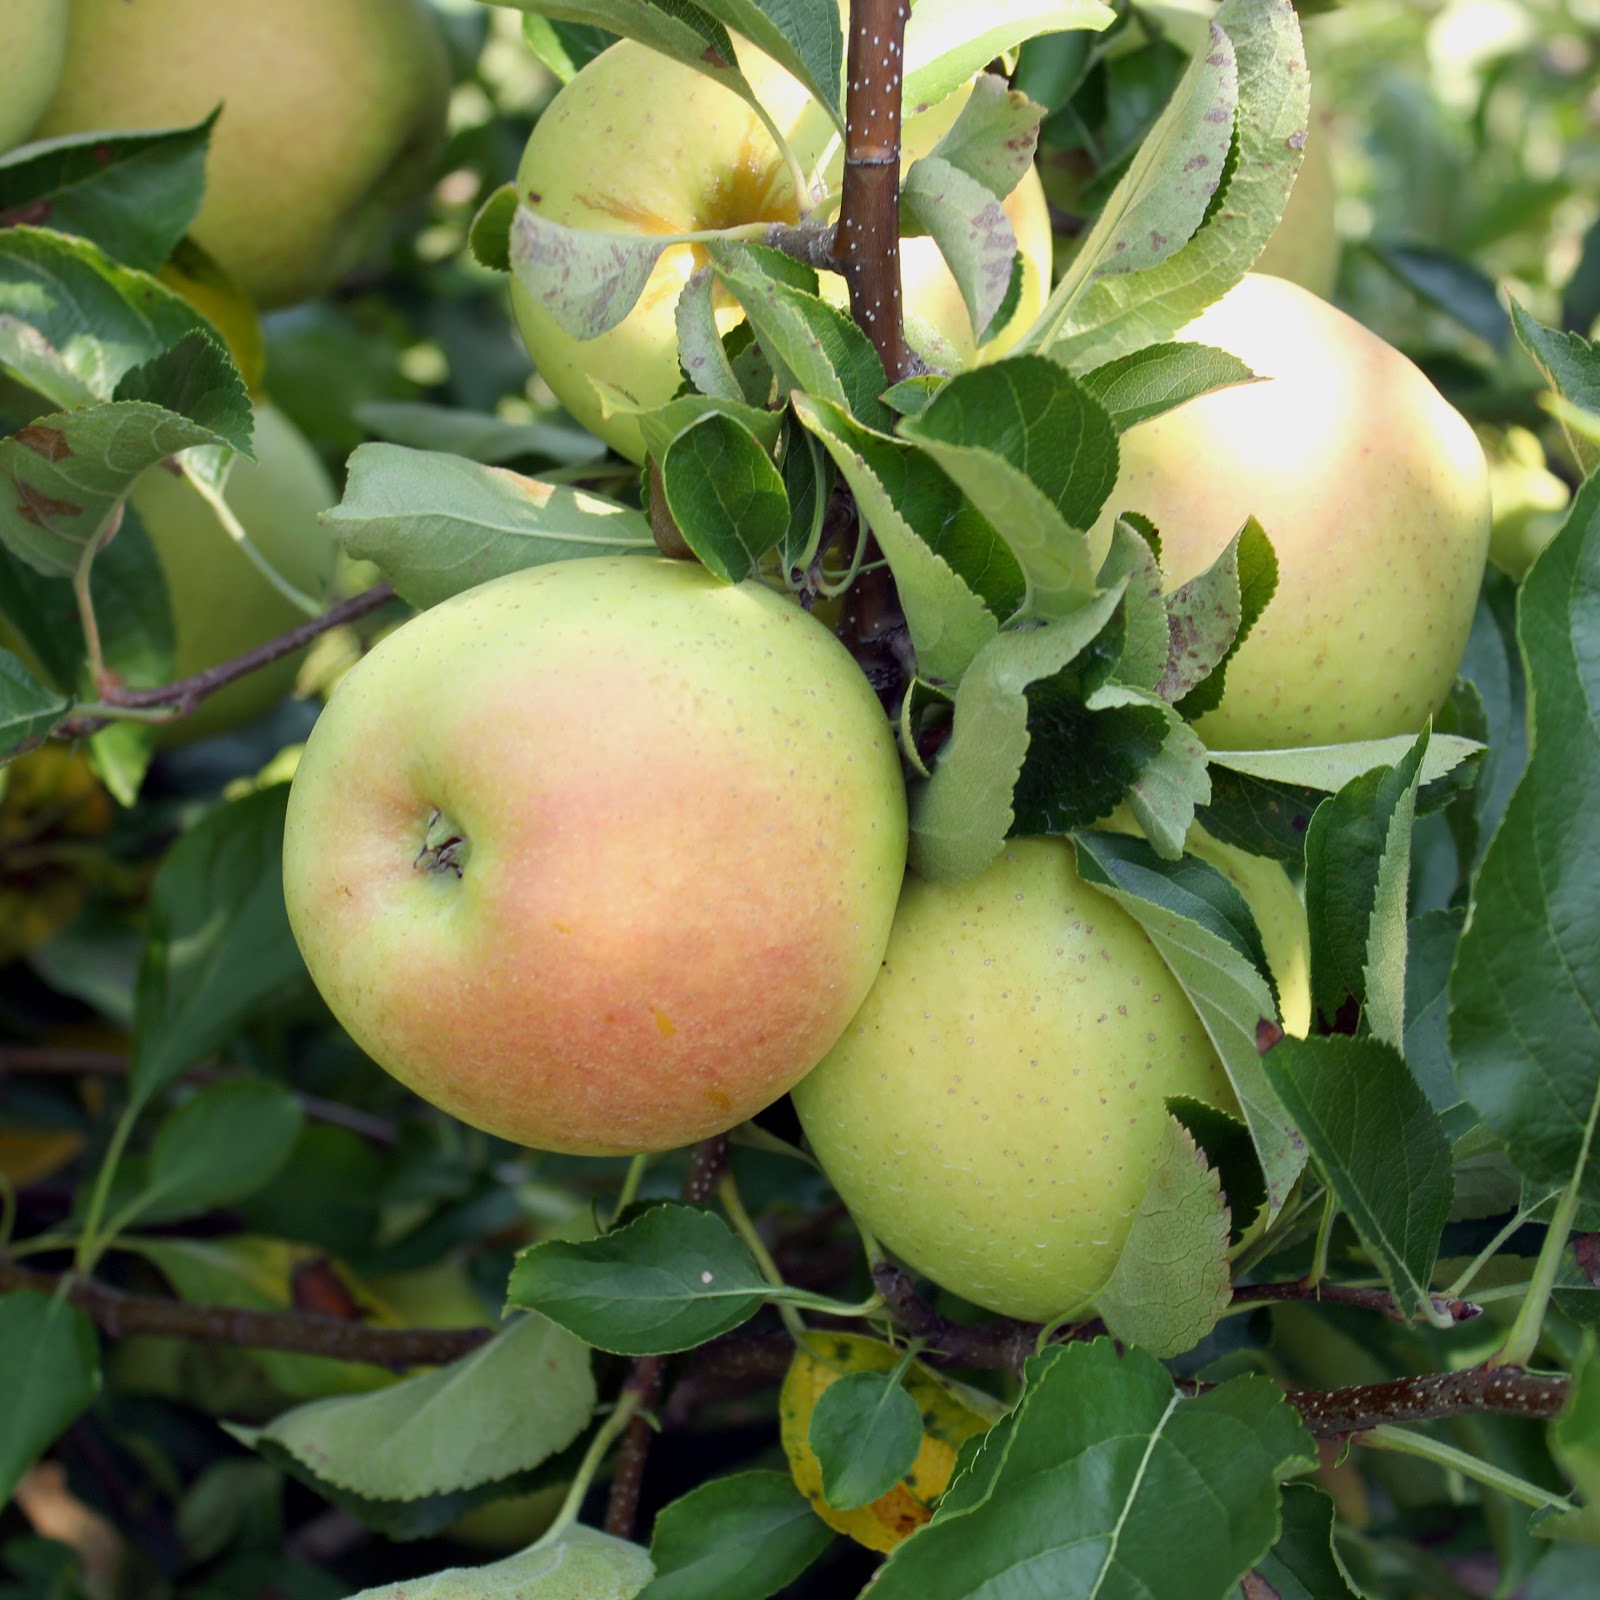
And when you have kids with you, forget about it..! You inevitably come home with many more apples than you can imagine what to do with!


So what's there to do when you have baskets upon baskets of apples and have already made apple pie, apple bread, applesauce, and apple-just about everything else? You make apple pie filling, of course, and store it until the next time you have a hankering for apple pie, which may incidentally be at a time when freshly picked apples are not readily available.


This basic recipe will keep all those apples you picked safely tucked away in your pantry for up to a year, if canned appropriately. These jars of homemade apple pie filling make wonderful, homey gifts for the holidays or any time of year. They're also a great addition to your summer picnic table. The key in this recipe is to cook the apples only slightly so that when you go to bake them, they will cook out completely without becoming mush.


Another key is to use an assortment of apples, which works well when you apple pick like we do - my kids and I throw all the apples in together and by the time we come home, can't tell a Jonathan from a Golden Delicious... :-)


Making this apple pie filling doesn't take long. The most wearisome part is actually peeling and slicing all your apples, which, let's face it, is cake (pun intended). The thickener I have used here is tapioca starch. Tapioca is a thickening agent and usually comes in the form of small, medium, or large pearls that need to be soaked to be edible. Tapioca starch is the ground-up, refined version and is an excellent substitute for cornstarch and other thickeners. Tapioca also happens to be gluten-free.
This recipe is a staple if you love apple pie or need a place for your surplus of apples. Try it and you'll love it!


Apple Pie Filling
(adapted from allrecipes.com)

Yield: Makes a little more than 2 quarts of filling

13 c peeled, cored, & thinly sliced apples (use an assortment of types)
2 c granulated sugar
4 T tapioca starch
1 t ground cinnamon
2 t lemon juice

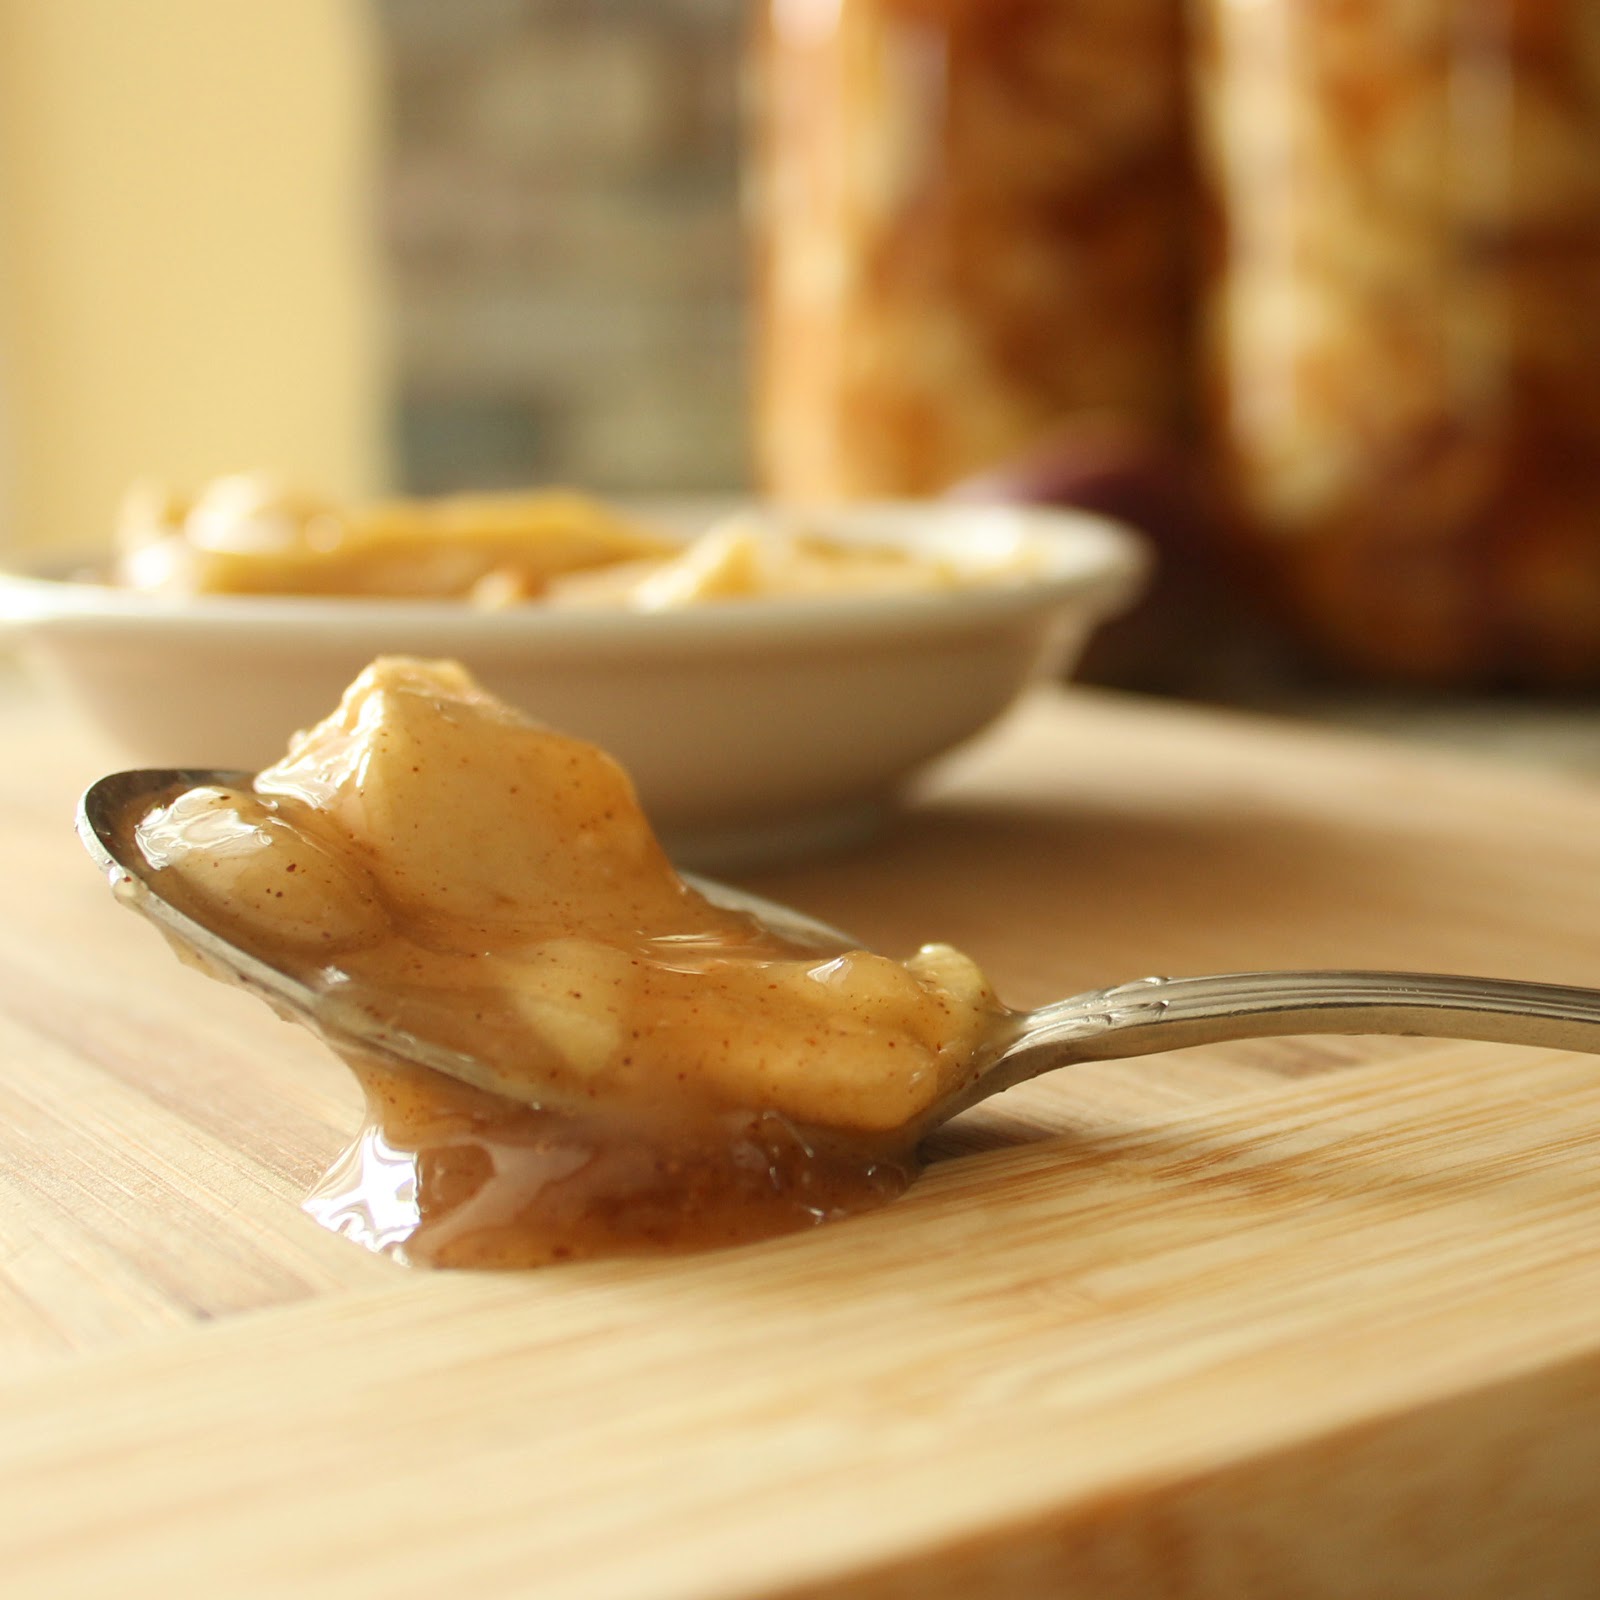
In a very large saucepan, mix the apples and sugar and turn the heat on medium-low. Start mixing until the juices begin to run from the apples and there is some liquid at the bottom of the pan. This will take about a minute or two. Keep stirring until all the sugar dissolves. This will take another few minute. Turn the heat to medium high and add the starch, cinnamon, and lemon juice and continue to mix until the liquid starts to thicken. Take the apples off the stove and spoon them into the prepped jars, filling them to within a 1/4" from the very top, taking care to leave no air bubbles. You can rid your cans of air bubbles easily by taking a narrow spatula or butter knife and running along the inner edge of the jar until no air bubbles remain. Make sure you pack the apples in really tightly.
Place the lid on top and screw tightly. Continue the canning process. Once complete and cooled, you will have apple pie filling for any day of the year... no matter the season! The filling will keep, properly sealed, for up to a year in your pantry. Just pop open the lid, fill a pie crust with a quart of filling, top it with an additional crust and bake as you normally would an apple pie. If you are using storebought crust, the directions will be on the box.

Enjoy!

Sunday, October 14, 2012

Basics: Chocolate Chip Cookies

Chocolate chip cookies are the cornerstone of American baking. Such a comfort food, it provides a sort of unadulterated pleasure that only a great chocolate chip cookie can serve up. There are so many types of chocolate chip cookies out there that we are more than familiar with, we've likely tasted the gamut. There's chewy, crispy, melt-in-your-mouth, cakey, to name a few.


I, like a lot of fellow chocolate chip cookie eaters out there, prefer the chewy interior paired with a slightly crispy exterior. Chew is a big factor in great cookies, in my opinion.


I found a pretty amazing recipe that I tweaked a bit to conform to my liking. The resulting cookie is a not-to-sweet base that is enhanced by its chocolate additions. I have realized that this is quite a factor in having a great tasting cookie - lessen the sweetness of the cookie itself and let the sweet additions do the talking. The cookie base is just a vehicle for these add-ins anyway. Also, while baking these cookies after letting them refrigerate in the fridge for at least 24 hours does bring about an awesome cookie, if you are highly impatient as I am, and need to bake these cookies asap, you can do so with a pretty amazing result. I only refrigerated half of my batch (the other half went in the freezer - who needs 30 chocolate chip cookies sitting on their counter??) for about two hours before I heard them calling my name. So, I preheated my oven and baked them and the 15 minutes it took for me to do that was trying enough on my patience. But, boy was it worth it.... However you eat these cookies - piping hot from the oven (I had to, of course), cooled to room temperature, dunked in milk or coffee, a day or two old, they are superb. The dark brown sugar in them really brings a deep caramelly flavor to the cookies and the nutmeg completes the chocolate chip cookie experience in a way I cannot describe in words. Tasting is believing, trust me. Just remember that a chocolate chip cookie is only as good as the quality of the additions you use, so try not to use your run-of-the-mill grocery store chocolate chips. This time around, I used chopped Dove chocolate bars (both dark and milk) and a handful of crushed Oreo cookies. When I say you need to make these, I am not kidding around. Do it. You won't be disappointed.


A note on the frozen 1/2 batch: I froze this batch without any add-ins because I couldn't decide what I wanted to use and didn't want the pressure of making that decision. So, when I'm ready to bake them, I'll bring the dough to room temperature, fold in whatever additions I feel like using and then bake off as normal.


My Favorite Chewy Chocolate Chip Cookie
(Inspired by and slightly adapted from BraveTart's Chewy Chocolate Chip Cookies)

Yield: just under 2 lb dough (without add-ins) or about 30 1.5oz cookies (with add-ins)

12.5 oz all purpose flour *(see note below)
8 oz unsalted butter, room temperature
6 oz dark brown sugar (don't use light brown sugar!)
3 oz white granulated sugar
1 t baking powder
1 t baking soda
3/4 t salt
1/4 t nutmeg, grated
1 T vanilla extract
1 egg + 1 egg yolk
6 oz chocolate (I used a combination of milk and dark chocolate)
10-15 Oreo cookies, crushed

In an electric mixer, mix the butter and sugars together until they come together in uniform consistency. This should take about 30-45 seconds. Do not "cream" the butter and sugars as you do not need that excess air in our cookies. Next, add in the baking powder, baking soda, salt, nutmeg, vanilla, and eggs. Mix well to bring together the dough, making sure to scrape down the sides of the bowl. Add the flour and pulse the mixer so as not to over-incorporate the flour and toughen the cookie. I like to take a spatula and mix by hand toward the end. Fold in any add-ins you wish to use. Divide the dough into two discs and wrap with parchment and plastic wrap. At this point, you can place the discs into a sealed plastic bag and freeze them for up to 6 months. Otherwise, refrigerate the dough for up to 24 hours. When you are ready to bake them, preheat your oven to 350F and set a rack in the middle position in the oven. Remove the dough from the fridge and pull off 1.5 oz portions, roll them into balls and place them on a parchment- or Silpat-lined cookie sheet. Press down on the cookie balls to flatten them a bit, while making sure to leave about 3" between each cookie as they will spread as they bake. Check the cookies after 10 minutes, making sure they are not baking too quickly. Then bake for an additional 2-3 minutes. The cookies are ready when they have set up around the edges with a lightly toasted color to them, while the center of the cookie still looks a bit soft and underdone. Take out the cookie sheet and let it rest on the counter until the cookies are fully cooled or throw caution to the wind and eat them hot! It may very well be worth the pain. Or be good and let them rest for 10 minutes. Then, eat them slowly and deliberately, enjoying every last bite. Enjoy!

*Note: If you don't own a kitchen scale, you should consider investing in one. They are fairly inexpensive (for around $20, you can find a good one). Baking is a science and measuring by weight is crucial to proper ratios and consequently, high quality baked goods.

Thursday, October 4, 2012

Pumpkin Butter

If you've never tasted pumpkin butter, you are surely missing out. It's similar to a jam or spread but made entirely of pureed pumpkin, some spices, and that's very nearly it.


This condiment can be enjoyed atop a piece of toast or a croissant. You can flavor oatmeal or any other hot cereal with a spoonful (as I have been every morning as the weather has gotten cooler). It can be added to cookie or cake batter for great pumpkin flavor or folded into cheesecake to create a seasonal pumpkin cheesecake. It can even complete a bowl of ice cream.
Pumpkin butter can be found in some grocery or specialty grocery stores during this season and is also available at a lot of local farm stands. These jars of spreadable goodness tend to be fairly pricey. After having bought a jar from an Amish village store on a recent trip to Lancaster, PA and noting the very simple list of ingredients on the side of the jar, I thought I'd give it a go, myself.


The result, which took a total of 10 minutes from start to finish, was a delicious, creamy, spread full of pumpkin love. Once cooked, it may be canned as you would normally can jams and stored for the upcoming holiday to give as gifts with a couple of crunchy baguettes or to include in your Thanksgiving breakfast spread.


Do try this cheaper and heartier homemade version. It's quick to prepare and packs a flavor punch!

Pumpkin Butter
(Created by Leelabean)

Yield: About 2 1/2 cups

1 can (15oz) pumpkin puree
1 1/2 c granulated sugar
2 t pumpkin pie spice
2 t apple cider vinegar
1/4 t lemon juice

Combine all the ingredients in a saucepan and stir to combine. Heat over a medium low flame until mixture starts to boil. Reduce the heat to a simmer while stirring for 5 minutes until it thickens slightly. Turn off the heat and let cool. Keeps in an airtight container for up to 10 days in the refigerator.

Monday, October 1, 2012

Kid Bites: Decorating Cupcakes

You may remember one of my posts from a few months ago, in July, in which I put a few bags of vanilla cake batter into my freezer to experiment with baking batter that's been frozen and thawed.


The cupcakes you see in these pictures are my last bag from this batch. Yes, they were frozen since July! Isn't it wild?? I took the batter out from the freezer and let it thaw, then transferred the batter to a bowl and folded in sprinkles for the FUN funfetti effect. I then baked them as I usually would and sat nearby with my fingers crossed...


Turns out, we were blown away from the freshness and pure yumminess of these cupcakes! No one could tell they came from batter that was made and frozen nearly 3 months ago!


Moving on to the project of the week...
While decorating with kids may seem like fun for everyone, once it's all said and done, you realize it's hard work to entertain these kids with something so seemingly simple as decorating cupcakes, cakes, or cookies. But we've all done it - thrown together a fun decorating session or party for kids entirely underestimating what we're really in for.
I've found a way to make decorating with children somewhat easier. Rather than have ten piping bags filled with a rainbow of colors, a bunch of piping tips, spatulas, different flavored frosting, etc, this week, we approached cupcake decorating a tad differently. Why not draw or paint on a blank canvas and pop those little pieces of art onto the tops of prefrosted cupcakes!


The idea came to me while I was making a bunch of medallion-topped cupcakes for a friend the other week. You can check out the post here. I made a gumpaste-fondant blend (easily made by mixing 1 part each of prepared gumpaste and fondant) and cut them into circles and scallopped circles of various sizes. If you are wondering, the reason I used gumpaste with my fondant was so that it will dry hard.


The kids used edible markers and edible paint. The edible paint was easily made with a dab of gel food coloring mixed with a few drops of lemon extract, which you can replenish as the paint dries. Buy a set of paintbrushes that you can allocate exclusively for food use. A painters palette like the one shown below is an easy way to set up all the colors of paint you want, with spaces for mixing colors - because we all know kids love to mix colors together..! My kids had a great time embracing this new method of edible artistic expression.


This is such a great craft for the kids and adults alike. The possibilities are endless as well, only limited by your imagination. You can adorn cupcakes with initials, numbers, themed artwork, abstract designs - really anything at all!

You can tell Harry Potter is the sun in our universe.... :-)


And the medallions are easy to make as well. As I said previously, mix equal parts of prepared gumpaste and fondant, color if desired, roll it out and cut out the shapes you want for your cupcakes. Try to match the size of the shapes to the size of the cupcake tops. I believe this look best. Let the toppers dry for a few hours and then you are ready to decorate. The toppers can also be used to decorate sugar cookies - more on this to come... And while these toppers are edible, we usually take them off, admire them and just eat the cupcake underneath.


Mmm, cupcakes are always yummier when there are sprinkles and cute kiddie decorations involved!